Cleaning and Handling Filters
Optical filters are crucial components in a range of scientific and industrial applications. Ensuring their proper cleaning and maintenance is paramount to achieving optimal performance. This guide provides insights into how to best care for Chroma's range of optical filters.
Best Practices for Chroma's Products
Navigating the world of optical filters in scientific or industrial fields requires more than just an understanding of their function. It also requires knowledge about their maintenance and handling. Preserving the optimal performance and longevity of your optical filters is as critical as their operation.
With this in mind, we have compiled a beginner-friendly guide to present the best practices for the cleaning and handling of your optical filters. This guide is designed to equip you with the essential skills you need, ensuring your filters continue to work at their highest capability.
DISCLAIMER:
The information provided below is based on the standard catalog parts and sizes offered by Chroma.
If you have any questions, or concerns, or require additional information about a specific part or size that might not be covered in this guide, please don't hesitate to Contact Us. We're always here to help ensure you get the most from your optical filters.
Use gloves
When handling optical filters, always wear gloves — never handle optics with bare hands. Nitrile gloves are a preferred choice due to their durability and resistance to various chemicals.
Your gloves should be clean and fit well. Once your gloves are on, we recommend cleaning your gloves with an alcohol wipe. Doing so will help to remove any remaining contaminants present on the gloves. Additionally, if your gloves become damaged, you should replace them immediately.
When handling your optical filters, take care to avoid touching your hair, face, and any non-clean surfaces. Doing so can potentially contaminate your gloves and subsequently the surface of the optic.
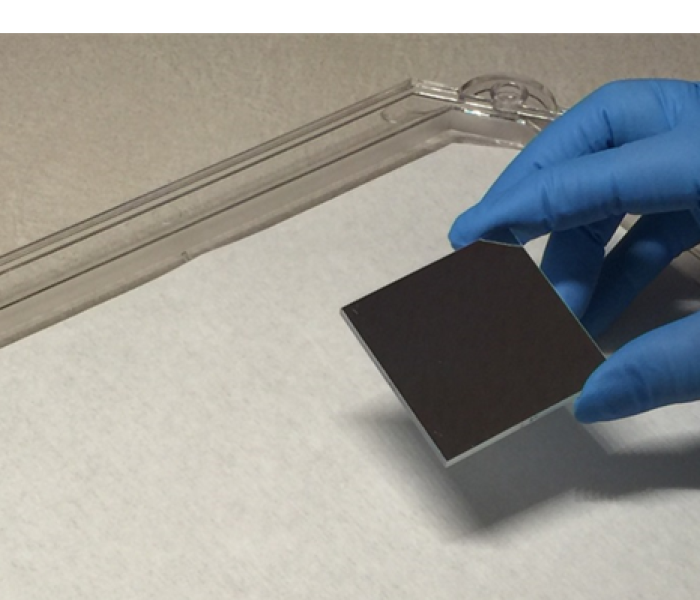
Hold filters by the edges
Remember, optical filters and components are delicate. Handle them with utmost attention and care. It's best to handle our optical filters by the edges and place them on clean, soft surfaces such as lens tissue or lint-free wipes if you need to set them down.
Exercise caution when using tools, as they can easily damage parts if mishandled.
Cleaning your optical filters
The first rule of cleaning optical filters is not to clean them if they look clean. Unnecessary cleaning can introduce dust and other contaminants, leading to performance degradation over time.
When it's time to clean, prepare your environment. Work in a clean, temperature-controlled space. A darkened area with a black background and light for inspection, or a booth specifically designed for the inspection of optical components are ideal for cleaning your filter.
Your primary cleaning tools will be:
Reagent grade anhydrous ethyl alcohol or equivalent
Lint free task wipes such as Kimtech Kimwipes or equivalent
Cleaning procedure
Start by blowing off loose dust and debris. Loose particles should be removed with a bulb puffer or filtered, pressurized air cleaner. Never blow on the surfaces with your mouth as this can contaminate the optic with saliva and other organic compounds. Opt for clean compressed air or dry nitrogen to blow off parts safely.
Wiping should only be performed if absolutely necessary. If required, gently wipe the surface using reagent-grade alcohol and lint-free task wipes or lint-free swabs. Soak your lint-free wipes or swabs in fresh alcohol and wipe from the inside out to avoid drawing contaminants from the edge onto the part. Acetone may be used in place of alcohol as needed. With both chemicals, be mindful not to oversaturate the wipe or swab.
When wiping, use a slow and steady drag across the surface. Apply minimal force and maintain a smooth movement. After use, dispose of your wipes and swabs properly. Reusing them can reintroduce contaminants onto the filter surface.
Handling and cleaning optical filters requires patience, precision, and a keen understanding of these guidelines. Following these recommendations will not only extend the lifespan of your filters but also ensure they perform at their best.
Frequently asked questions
Do I need to clean the optical filters each time I use them?
Not necessarily. It's best to clean your optical filters only when they appear dirty. Over-cleaning can inadvertently introduce more contaminants onto the filter surfaces.
What’s the recommended method to wipe optical filters when cleaning?
If necessary, gently wipe the surface using reagent-grade alcohol and lint-free wipes. Soak your lint-free wipes or swabs in fresh reagent-grade alcohol and wipe from the inside out to avoid drawing contaminants from the edge onto the part. Use minimal force and maintain a smooth movement.
Can I blow on the filters to remove dust and debris?
No, you should never blow on the filter surfaces with your mouth, as this can introduce moisture and contaminants. Use clean compressed air or dry nitrogen instead.
Still have questions?
If you have more questions or need further information about the orientation or proper cleaning and handling of your optical filters, please Contact Us. Our team is ready to assist and always happy to help you with your questions.


